We are unable to reply to comments, so please message us directly if you have a specific question regarding products, shipping costs, etc. Our office number is (480) 207-1511. Our email is hello@spencertified.com. You can also message us on Facebook. Commonly asked questions and answers can be found on our FAQs page here.

How To Copy VHS Tapes to DVD.
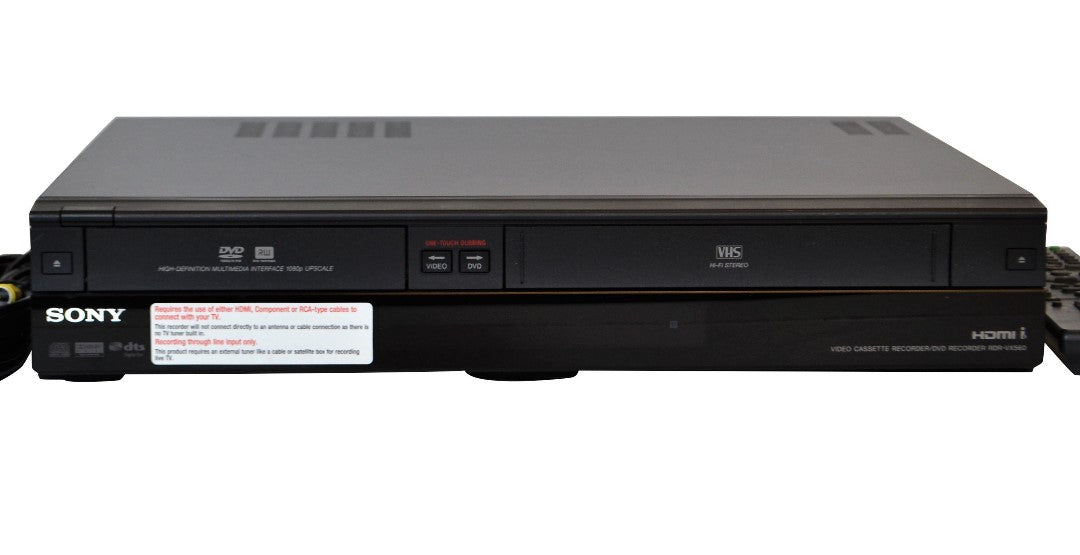
So you've decided that you want to archive your old home movies so you can preserve them, take up less space, or edit them. What ever your reason may be, it can seem like something that is very complicated and requires a pro. It's actually very simple and if you follow this tutorial, you'll have those films on DVD in no time!
Here's What You Need
- The device being used for this walk-through is the Samsung DVD-VR375, as long as you have a player that has a DVD recorder, you're in good shape.
- An AV(audio video) cable.
- The VHS tape you want transferred.
- A blank DVD. You need to make sure it is compatible. The DVD-R is the most compatible, but others discs allow you to do much more if they are an option for you.
- A TV.
Here's how you do it.
1. The first thing you need to do is connect your audio video cables to the back panel of your TV. All you have to do is match the colors up
2. Then you'll connect the other end of the cables to the combo unit under AV OUT.
3. Now you can place your VHS and DVD into the player.
4. Make sure that your combo player is set on the DVD input.
5. After that, push record speed on the remote and set it to SP, A.K.A standard play. With SP, it will only allow the disc to record for 2 hours. You want this since it's the max amount a disk can hold without lowering the recording quality for a standard 4.7 GB DVD. Some discs have more space and you can get away with recording more.
6. Now you press the dub to DVD button on the front panel or on the remote. It will begin recording. The recording will stop after 2 hours, when you hit stop or when the tape has ended.
7. Once you're finished recording, you have to finalize the disc. If you don't finalize the disc, the disc won't play in other players. Set the player to the DVD side, hit menu, then go down to disc settings, then select finalize and then hit okay.
That's all you have to do! Once it's done finalizing, you can remove the disc and play it anywhere. I hope this answered all of your questions. If it didn't, leave a comment below and I can help you.


Comments
Leave a comment