We are unable to reply to comments, so please message us directly if you have a specific question regarding products, shipping costs, etc. Our office number is (480) 207-1511. Our email is hello@spencertified.com. You can also message us on Facebook. Commonly asked questions and answers can be found on our FAQs page here.

HOW TO PROPERLY CLEAN YOUR COMPUTER’S KEYBOARD
OUR STEP-BY-STEP GUIDE WILL GET YOUR KEYBOARD LOOKING LIKE NEW IN NO TIME!
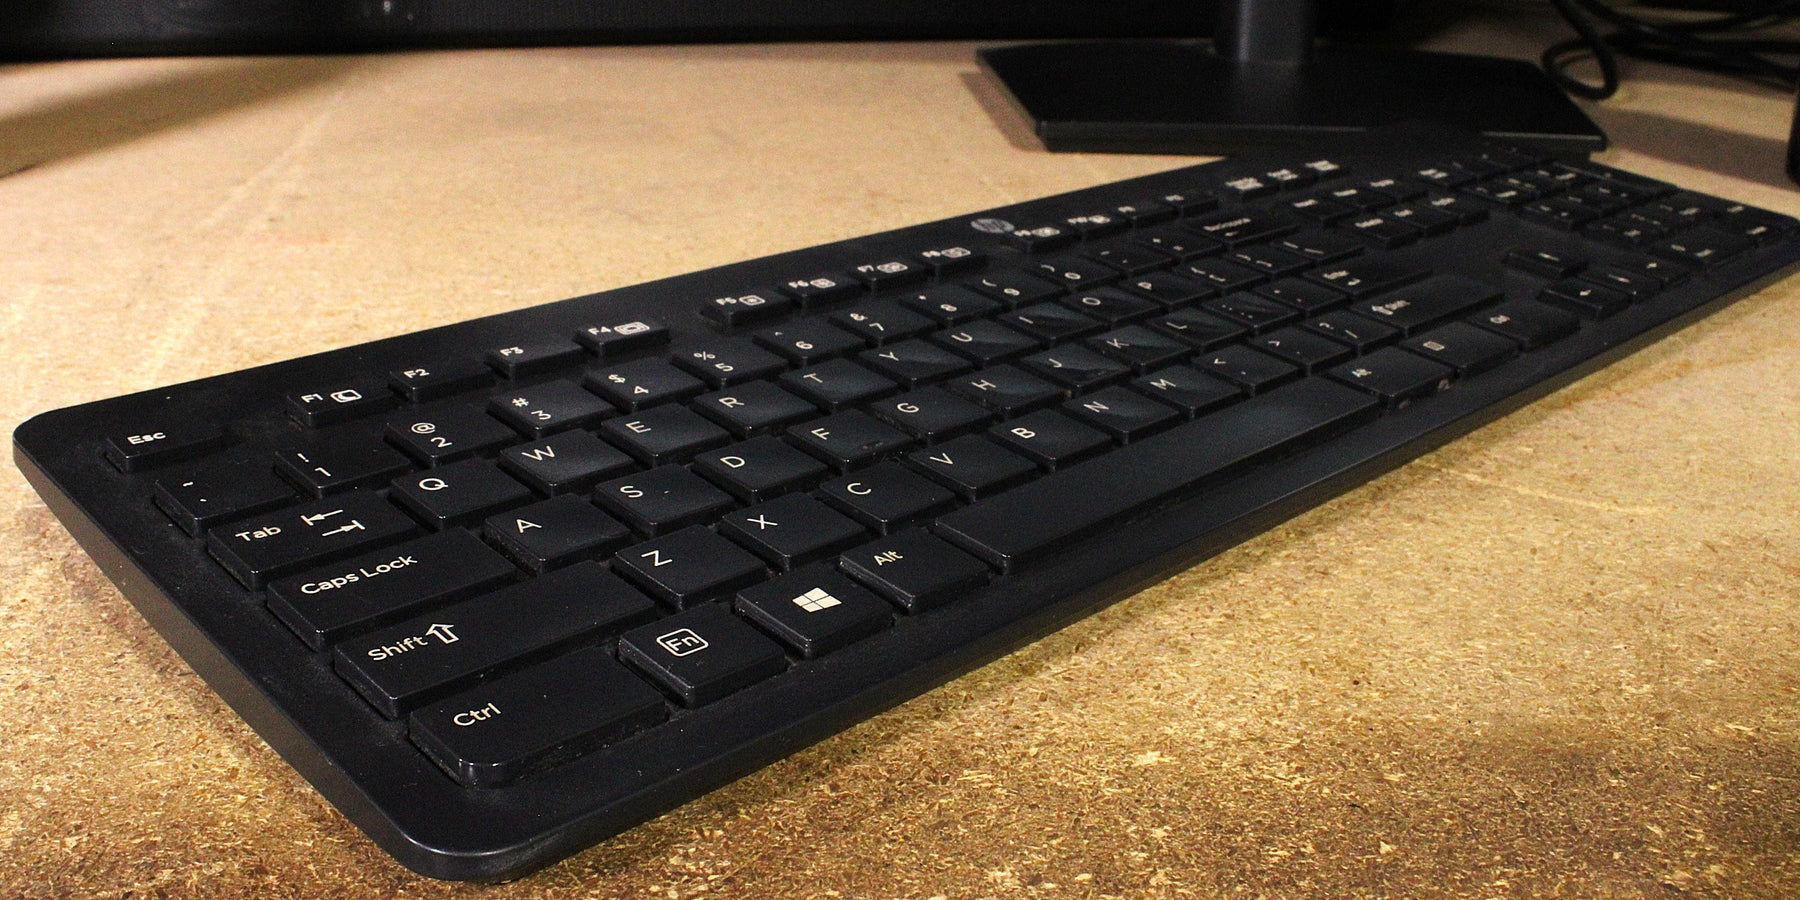
Whether you’re a dedicated gamer or a diligent work-from-homer, you want to keep your computer’s keyboard sanitized and working without issues. It’s important to regularly keep up on keypad maintenance; this way you can prevent the spread of germs, prevent debris from interfering with your typing speed and accuracy, and prevent your computer from looking like it was hit by a crumby dust storm.
But how do you clean a keyboard without damaging the keys or the internal mechanisms? Do you need to go out and buy an entire cleaning kit? What chemicals, if any, should you use?
That’s why we’ve created this simple, step-by-step guide! It’ll walk you through exactly what you need to clean your computer’s keyboard and get it looking (and working) like new again.
MATERIALS TO GATHER

There are a few things you’ll need for a thorough cleaning of your keyboard, but don’t worry! Most, if not all, of these materials you can find already in your home. Use what you own first, then invest in additional materials if you find that didn’t do the job.
- Old toothbrush, paintbrush, or makeup brush
- Microfiber cloths
- Cotton swabs
- Isopropyl alcohol or sanitizing wipes
- Compressed air or electric air blower (optional, but recommended)
- Toothpicks (optional)
- Vacuum cleaner with brush attachment (optional)
- Paper towel (optional)
Pro Tip: You can also get a tub of cleaning slime if you find that that works for you, but we don’t recommend it. It often leaves a residue, and the gel gets dirty quickly, meaning you have to replace it often (which is bad for both your pocket and the environment).
QUICK CLEANING A LAPTOP OR DESKTOP KEYBOARD

STEP 1: DISLODGE DEBRIS
First, you’ll want to shake out any loose crumbs and debris. Shut down your laptop or turn off and unplug your computer’s external keyboard. Grab a paper towel or a trash can. Tilt your keyboard over the paper towel or trash can, then gently tap and shake the keyboard to dislodge any loose debris.
STEP 2: GRAB YOUR BRUSH
Next, use your brush to loosen any stubborn dirt, sweeping the keyboard down row by row. Think of it like brushing the keyboard’s teeth: you want to angle the bristles so they dip into the tiny spaces around each key. Dry bristles tend to work perfectly fine for getting rid of crumbs and dirt, but if you need to, slightly dampen the brush with a couple drops of water before sweeping over the keypad again. You can also keep the keyboard titled or on its side over the paper towel as you brush it to allow the dirt to more easily fall out.
STEP 3: BLOW IT OUT
Third, use compressed air or an electric blower on a low setting to remove the dirt from the hard-to-reach areas. If using compressed air, be sure to hold it upright (not upside down!), and spray it in short bursts at and around the keys, working in a zigzag pattern across the keyboard. You can also use a small brush attachment on your vacuum or a handheld vac to suck up the dirt.
STEP 4: WIPE IT DOWN
Finally, take a look at your keyboard. If there’s still grime in the spaces between keys, grab a cotton swab, get it slightly damp (with water or isopropyl alcohol), then gently rub at the spaces between them. Once the grime is gone, use your microfiber or lint-free cloth to do a final wipe down and get rid of any final residue on your keys.
DEEP CLEANING A DESKTOP OR MECHANICAL KEYBOARD

STEP 1: REMOVE THE KEYCAPS
Start by unplugging the keyboard or removing the batteries. Take a picture of your keyboard, then carefully remove all keycaps (if possible) using a keycap puller.
STEP 2: SOAK THE KEYCAPS
Soak the keycaps in warm, soapy water for 30 minutes. We recommend adding a couple drops of Dawn to a small bowl of warm water. If they’re really grimy or sticky, use a cloth or brush to scrub them down.
STEP 3: BLOW IT OUT
Use compressed air or an electric blower to remove the loose debris from the exposed surface. Go back and forth along the surface, keeping the keyboard titled.
STEP 4: WIPE IT DOWN
Clean the surface and between the switches with a cotton swab dipped in isopropyl alcohol. Allow the surface to completely dry. Use a dry cloth to clean the battery compartment if your keyboard is wireless.
STEP 5: DRY AND REATTACH
Rinse the keycaps, then allow them to dry. Finally, reattach and reassemble the keyboard using the photo you took in the first step. Ensure everything is completely dry before plugging it back in or reinserting the batteries.
IN SUMMARY
Cleaning your keyboard will take time and patience, but it’s worth it! If you keep up a routine and clean it regularly, you won’t need to spend the time on a thorough cleaning. Keep cotton swabs nearby and do spot maintenance as needed to remove the dust and dirt from around your keys. Wash your hands before using your keyboard and avoid eating or drinking near it to prevent accidental crumbs and spills. A little routine maintenance goes a long way to keeping your keyboard looking and working like new!
If you’re interested in our other step-by-step cleaning guides, you can find our Guide to Cleaning a Television Screen here and our Guide to Cleaning a Remote Control here. You can also check out our Guide to Cleaning Home Stereo Speakers here. Thanks for reading! Have a great day.


Leave a comment